Step-by-Step Guide to Sprouting Your Own Plants with Grow Cubes
Germinating seeds in grow cubes is a great way to start your plants indoors. The grow cubes provide a perfect environment for the seeds to germinate and start growing, ensuring that they receive the right amount of moisture and nutrients. With the right steps and a little bit of patience, you can successfully germinate seeds in grow cubes and grow healthy and strong plants. Here is a step-by-step guide on how to germinate seeds in grow cubes:

Step 1: Choose the right grow cubes
The first step in germinating seeds in grow cubes is to choose the right grow cubes for your plants. There are different types of grow cubes available in the market, and it is important to choose the right one for your seeds. Some grow cubes are made specifically for starting seeds, while others are designed for growing mature plants. Be sure to read the labels and choose grow cubes that are suitable for your seeds.
Step 2: Prepare the grow cubes
Once you have chosen the right grow cubes, the next step is to prepare them for the seeds. Most grow cubes come pre-moistened, but if your cubes are dry, you can add water to them until they are evenly moist. Be careful not to add too much water, as this can cause the cubes to become waterlogged and prevent the seeds from germinating.
Step 3: Plant the seeds
Once the grow cubes are prepared, it’s time to plant the seeds. Each cube should have a small hole in the top that you can use to plant the seeds. Simply place one seed in each hole and gently cover it with grow cube material. Make sure that the seeds are covered completely, but not too deeply.
Step 4: Place the grow cubes in a warm and bright location
Place the grow cubes in a warm and bright location, such as near a sunny window or under grow lights. The seeds need warmth and light to germinate, so it’s important to place the grow cubes in a location that gets plenty of sunlight or artificial light.
Step 5: Water the grow cubes regularly
Once the seeds are planted, it’s important to water the grow cubes regularly. The grow cubes should be kept moist, but not waterlogged. You can water the grow cubes by misting them lightly with a spray bottle, or you can place them in a tray filled with water. Make sure that the cubes drain well after watering, so that the seeds are not sitting in standing water.
Step 6: Monitor the seeds
Monitor the seeds regularly to make sure that they are germinating properly. Keep the grow cubes in a warm and bright location and continue to water them regularly. The seeds should start to germinate within a few days to a week, depending on the type of seeds you are planting.
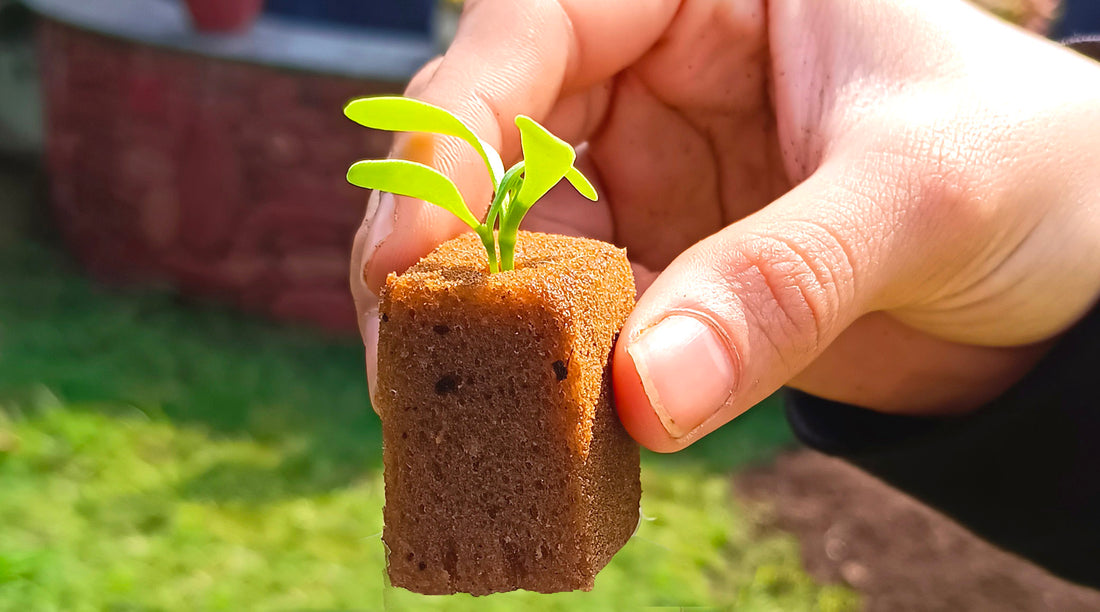
Step 7: Transplant the seedlings
Once the seeds have germinated and the seedlings have started to grow, it’s time to transplant them into larger containers or into the garden. Be gentle when transplanting the seedlings, as their roots are delicate and easily damaged. Transplant them into containers filled with soil or plant them directly into the garden, making sure to water them well after transplanting.
In conclusion, germinating seeds in grow cubes is a great way to start your plants indoors. By following these steps, you can successfully germinate seeds in grow cubes and grow healthy and strong plants. Just be patient, and keep the grow cubes in a warm and bright location and water them regularly, and your seeds will germinate and grow into beautiful plants.C